GEM-CAR FAQ
GEM-LINK configuration
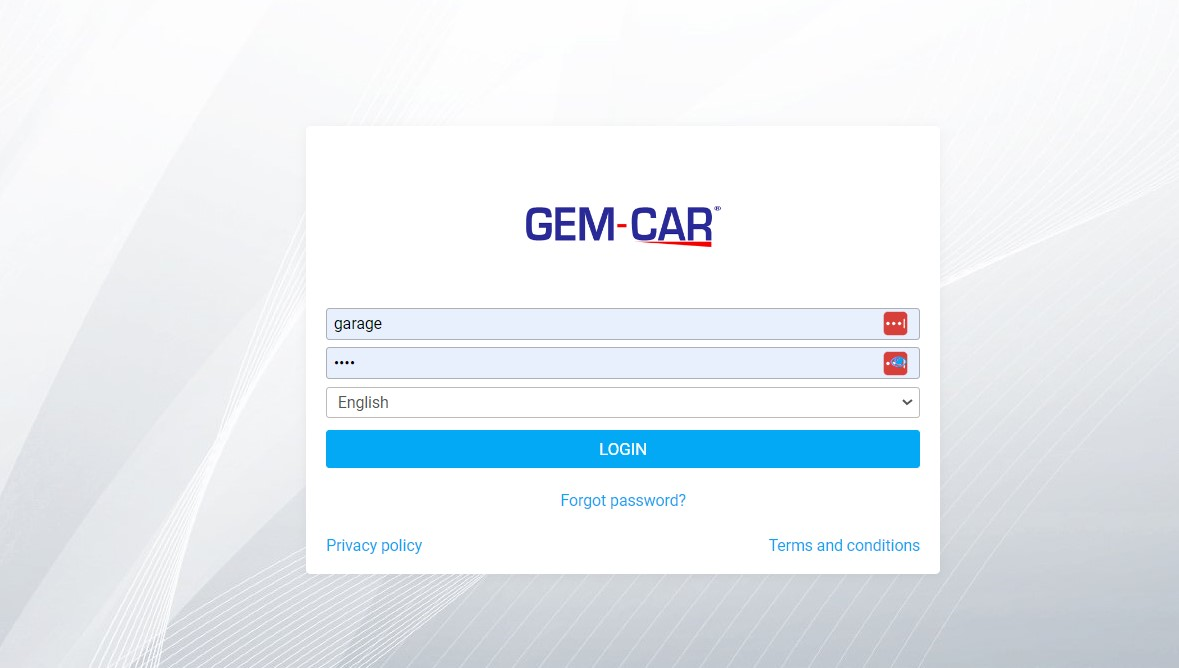
Step 1: Open the Gem Car Cloud Application.
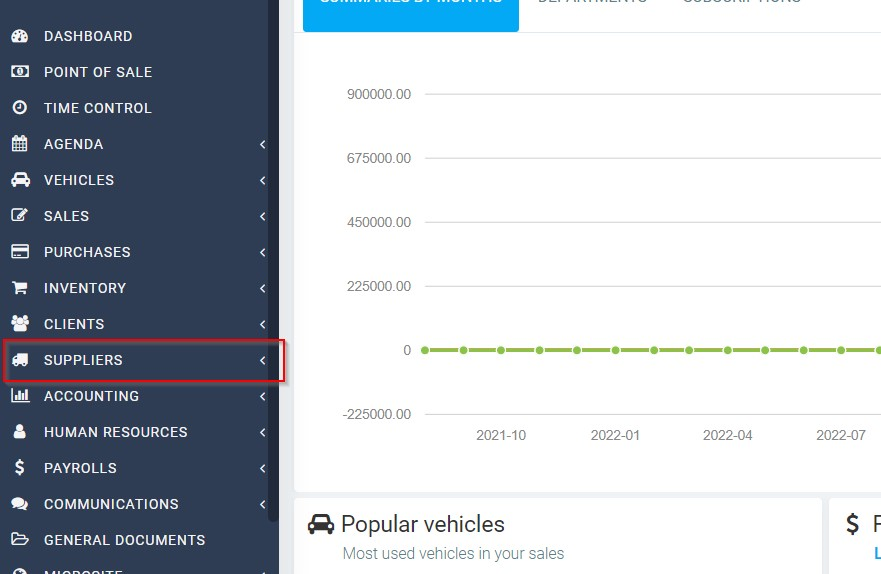
Step 2: Navigate to the 'Suppliers' Section.
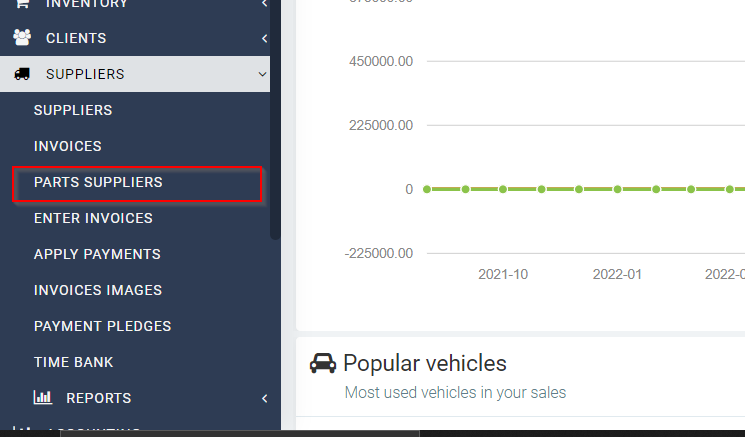
Step 3: Select 'Part Suppliers' from the menu.
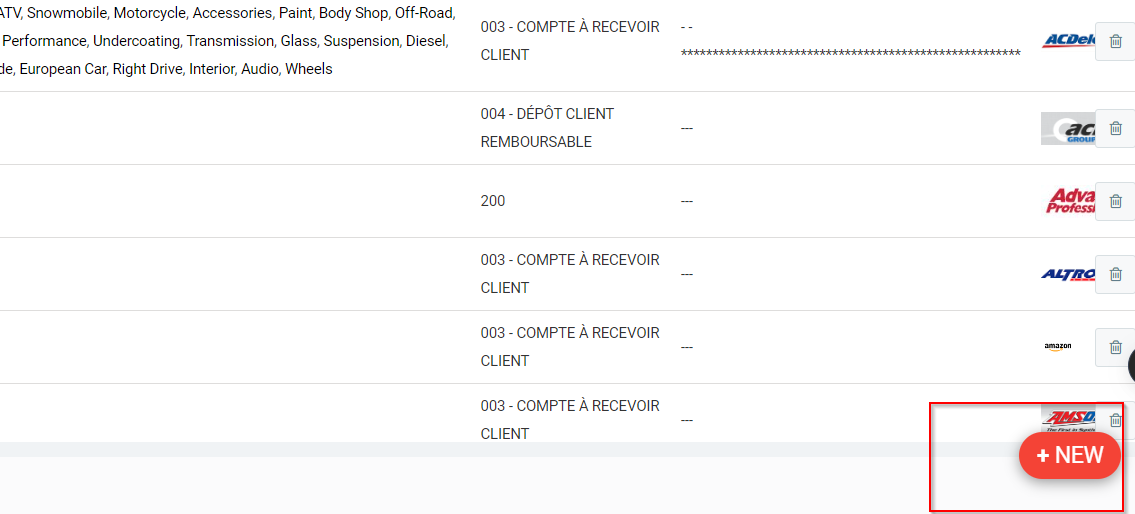
Step 4: Locate the new button on the right-hand side and click on it.
Step 5:Click on the list of suppliers. For this demonstration, we'll select 'Napa Canada.'
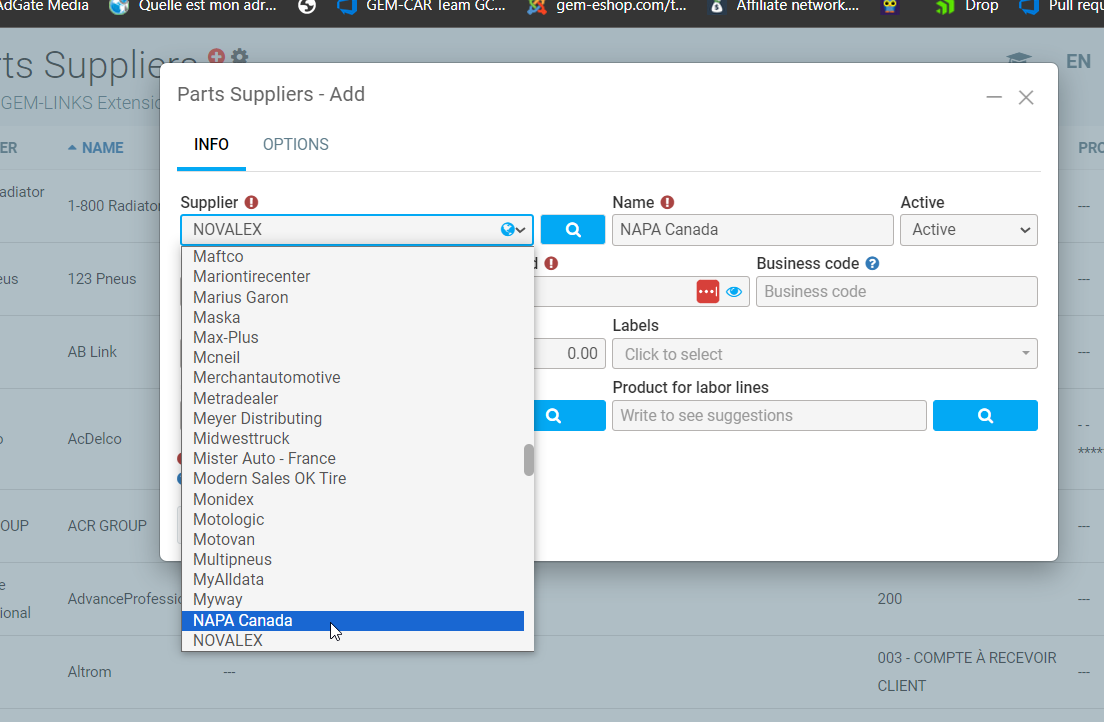
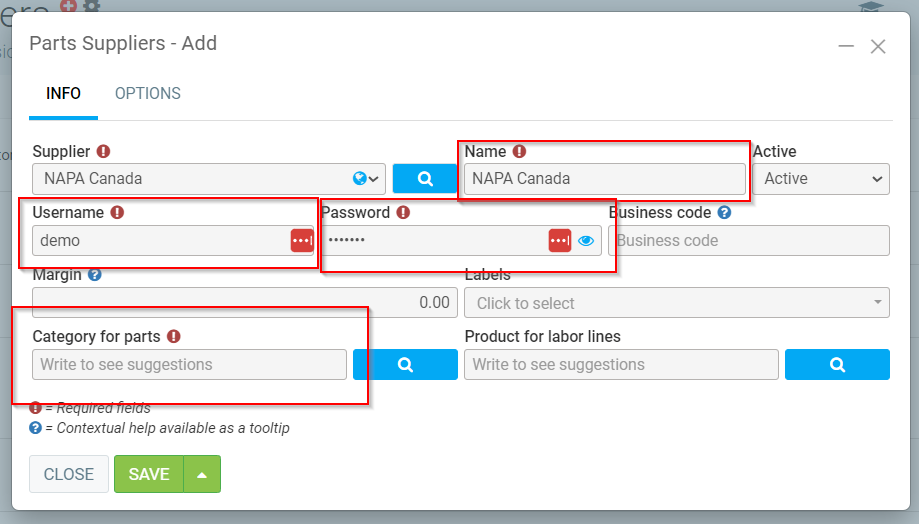
Step 6: Modify the supplier's name if needed and input the username and password. Also, choose a category (e.g., 'Parts to 200'). Save and close the changes.
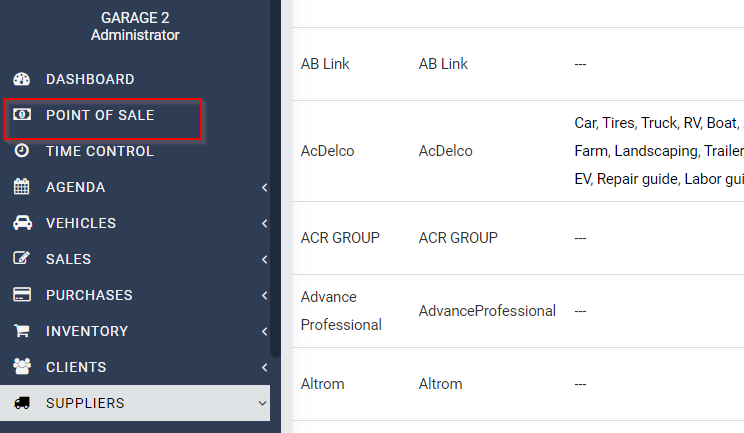
Step 7: Now, head over to the 'Point of Sale' section.
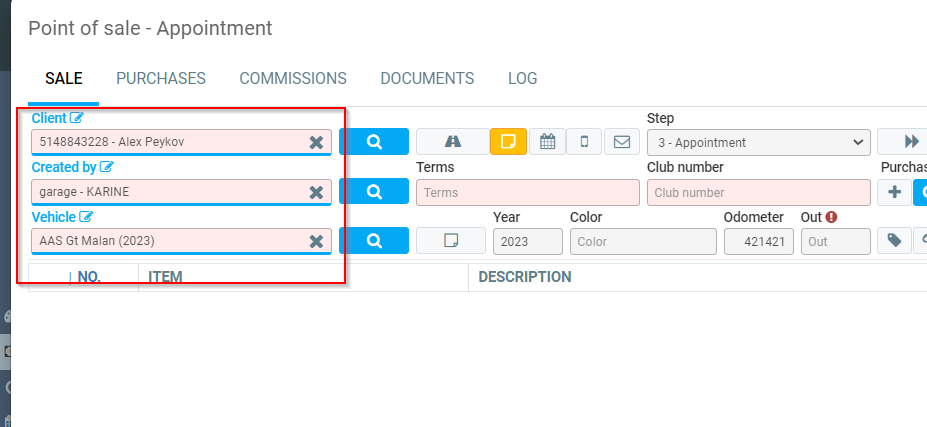
Step 8: Select a client.
Step 9: Click on the 'Part' button.
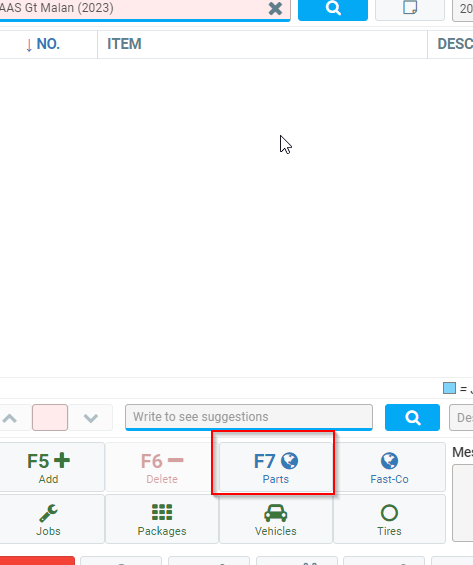
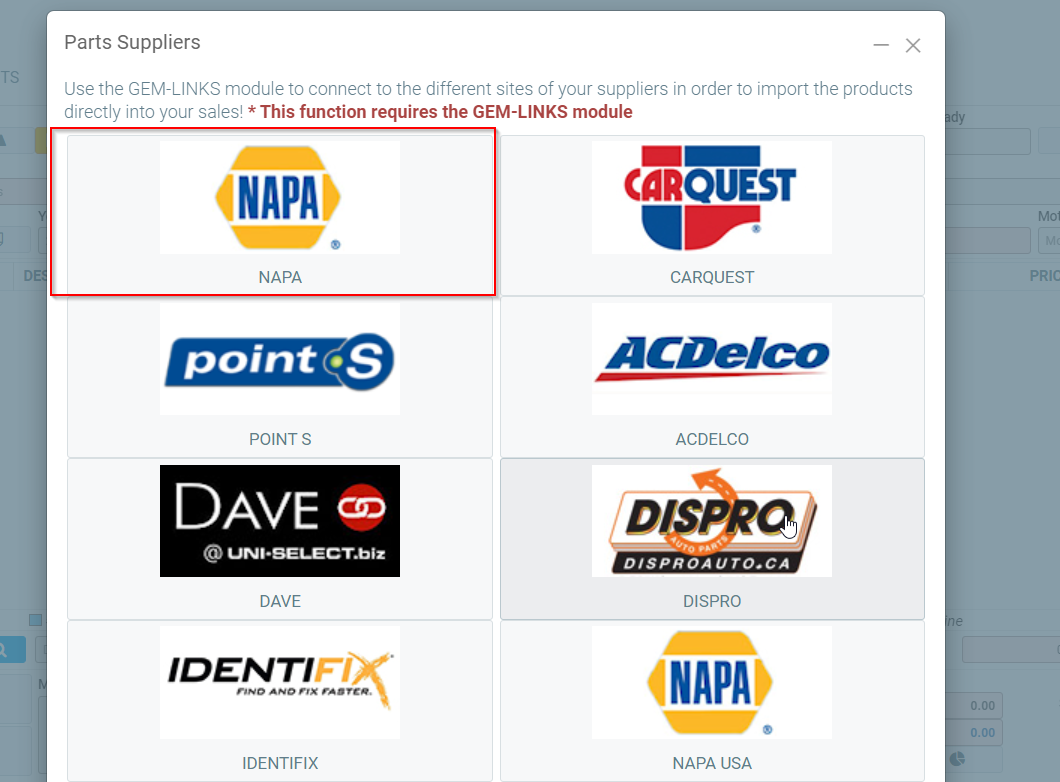
Step 10: In the list of available suppliers, you'll see 'Napa Canada.' Click on it.
Step 11: You'll be redirected to the Napa website.
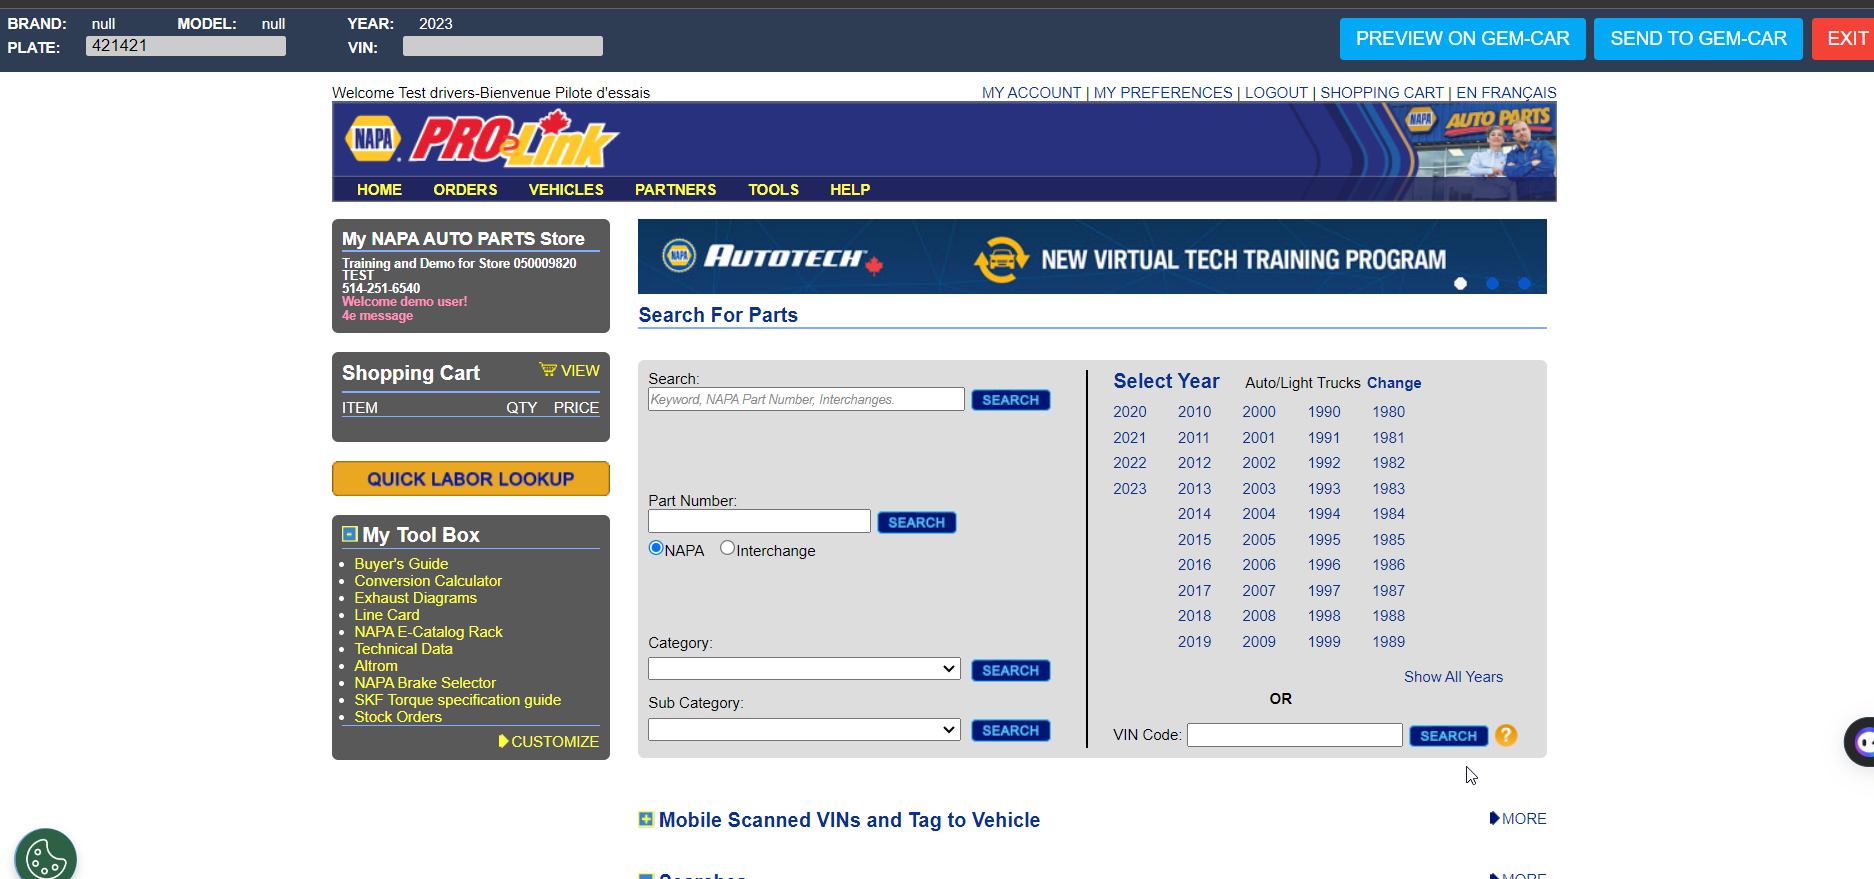
Step 12: Here, you can add the required parts by selecting the items you need.
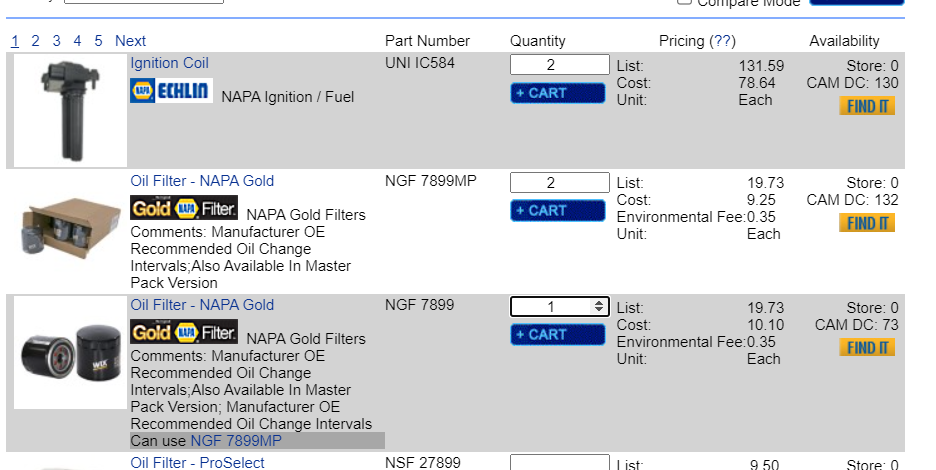
Step 13: Once you've selected the items, click 'Send to Gem Car.'

This action will transfer the car's information to the estimate within the 'Point of Sale.'

Step 14: You can choose to send it directly to Gem Car or preview it before transferring it to the estimate.

Here is how it works:
Click here to learn more about the GEM-LINKS configurations in GEM-CAR
Posted
9 months
ago
by
Olivier Brunel
#1231
323 views
Edited
5 months
ago
