GEM-CAR FAQ
Configuring Necessary Bays to Schedule Appointments in the Calendar
1) What is a Bay?
In the context of GEM-CAR, a bay represents a work area. It can be a lift, a technician, or a workspace. If I have 3 bays available, that means I have 3 spaces with at least one technician to run the work on each.
To create bays in the GEM-CAR Calendar, you must first create a resource.
2) Creating a Resource
In the context of creating Bays, it is necessary to be able to associate a resource. She doesn't have to be human though. We could simply call our resource Alignment. In GEM-CAR, we will still create it as a human resource by following the following path:
- In the Main Menu on the left of the application, click on Human Resources > Human Resources > +New.
- Then enter the information about the technician associated with the bay, or, if it is not a Human Resource, enter only the Name. This could be Alignment. This would allow you, for example, to make appointments for the workstation, regardless of the technician who is working there.
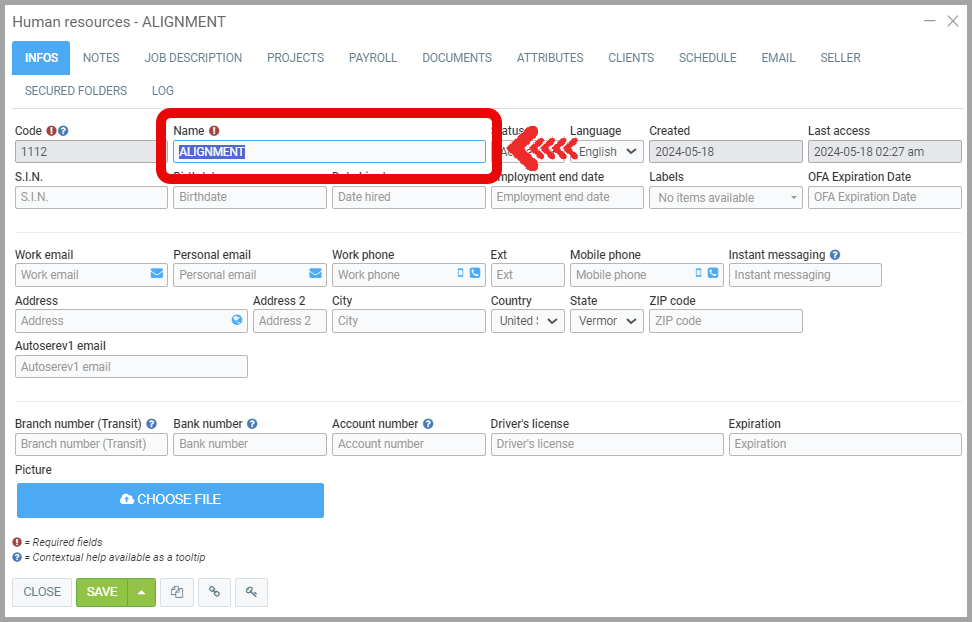
Naturally, unlike for a human resource, it is not necessary to give it a role.
3) Creating the Bay
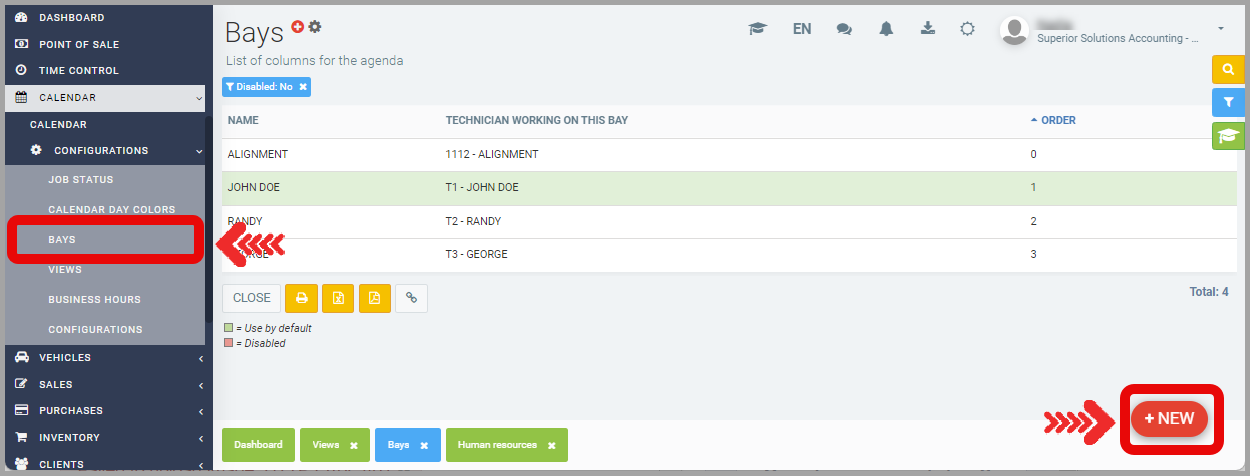
- In the main Menu on the left of the application, click on Calendar > Settings > Bays. Select the bay you want to make available for online appointment booking or click on +New to create a new one.
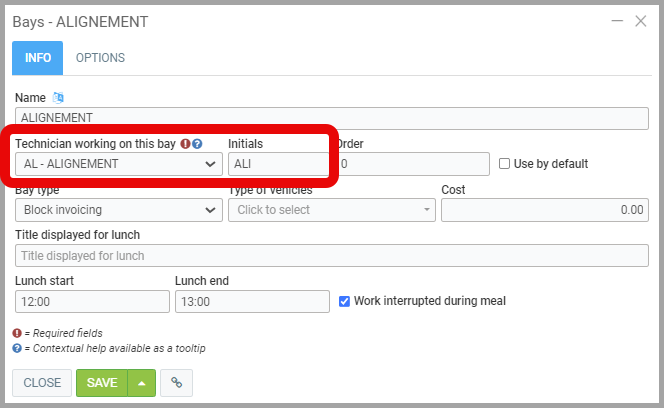
- In the Info tab, select the Technician linked to this bay. This involves selecting a resource as created in step 2 above. This could be the "Alignment" workstation for example.
- Then, as far as the Bay Type is concerned, the "Block invoicing" option ensures that a technician has been assigned to the task and ensures the time he spends on the task before billing by allowing him to use the time stamp. This is the option we will most often choose.
The "Allow invoicing" option could mean that no technician would have punched in on the job and it would still be closed.
The "Warn at invoicing" option allows you to have a warning when no technician is assigned to the task.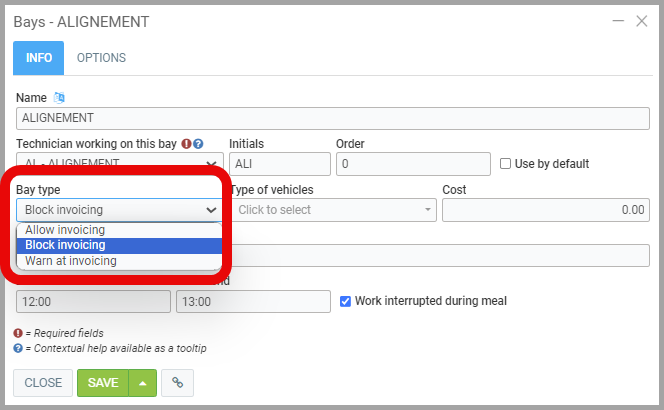
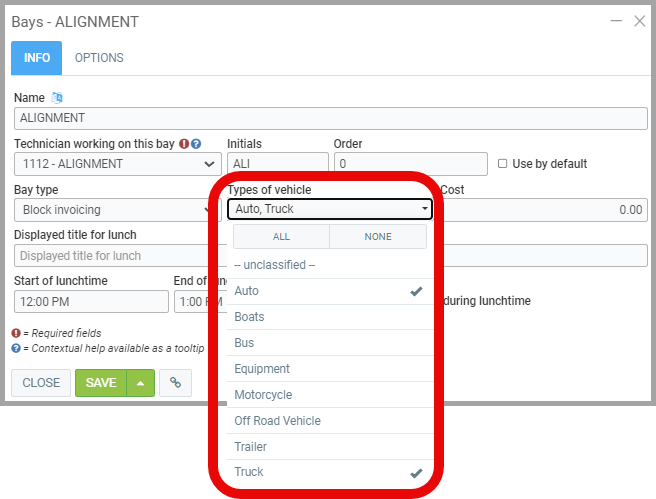
- Choose the Vehicle Type for which you offer services. They will be displayed in the online appointment booking menu on your website.
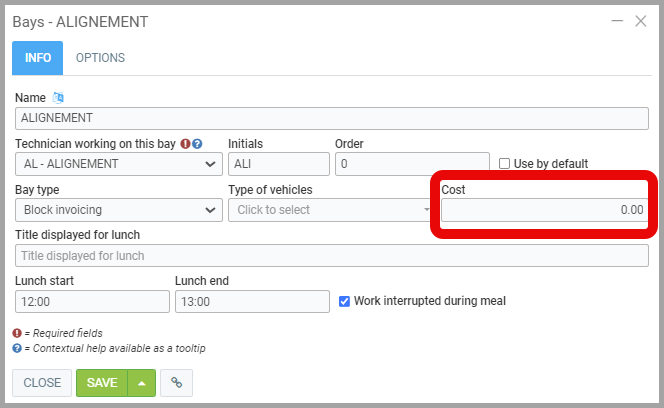
- The Cost allows you to calculate the profit on labor. The salary of each technician can be added to it. However, what is more common is to see the average salary of the technicians.
- Specify the Lunch time if the service must be interrupted.
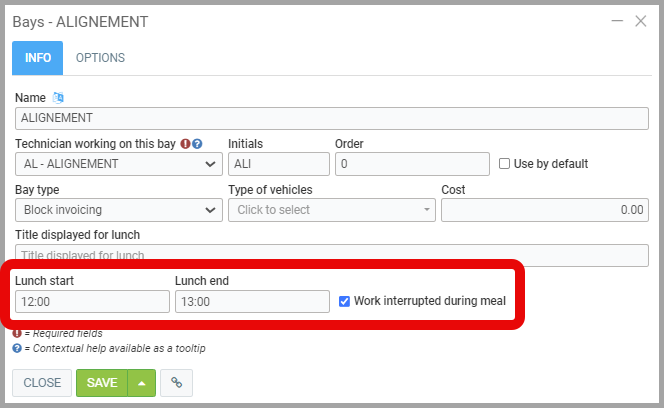
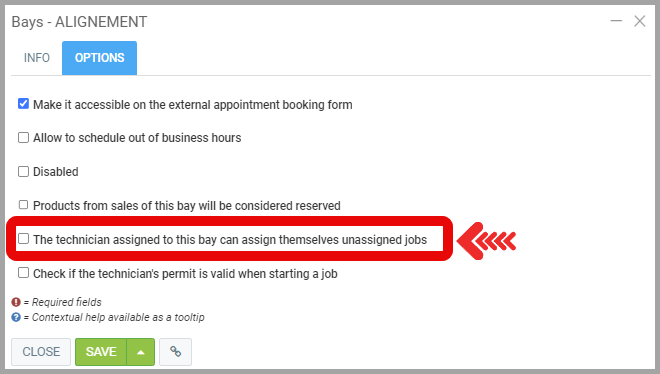
Note that if nothing is entered in Displayed Title for Lunch, "Lunch" will appear by default. - Under the Options tab, if the Bay concerns a specific human resource, it may be important to select the "The technician assigned to this bay can assign himself unassigned jobs" option to allow him to clock in on another mechanic's work.
- Specify the Business Hours. In the main Menu on the left of the application, click on Calendar > Settings > Business Hours.
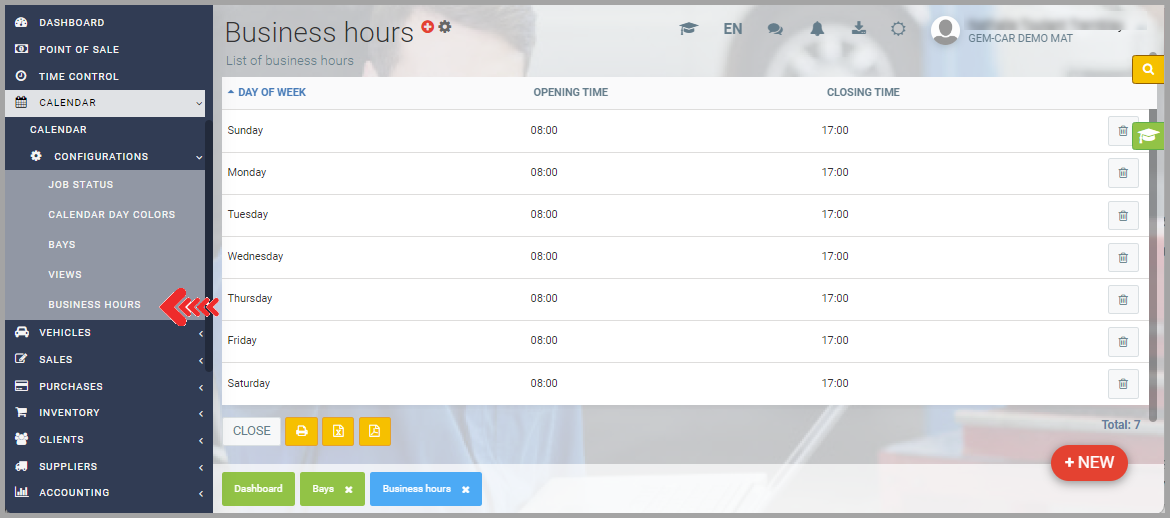
To add time slots, click on +New. You can also modify a time slot simply by selecting it.
Note that these business hours correspond to the business hours that you will see in your Calendar.
Now, view your Calendar.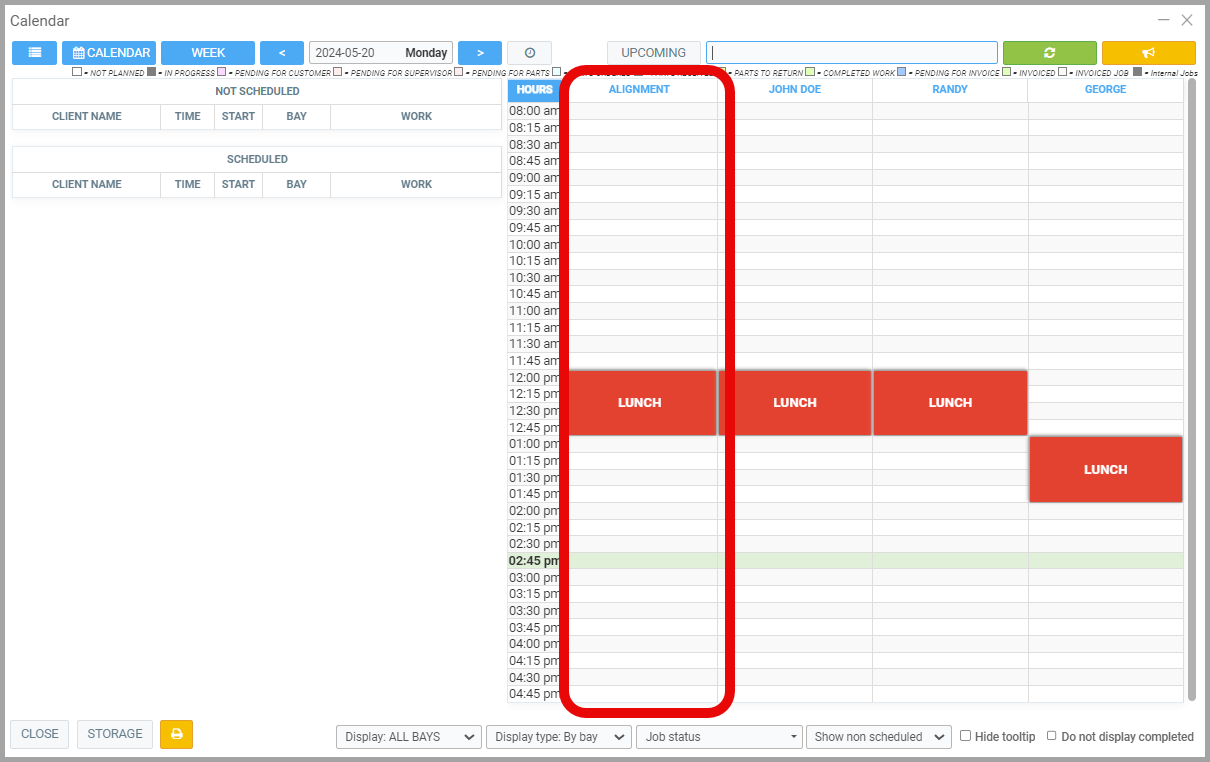
- From the main Menu at the bottom of the Point of Sale, by clicking on Calendar in the menu at the bottom of the screen or by pressing the F9 key.
- In the main Menu on the left of the application, click on Calendar > Calendar.
Learn more?
Change the Display and Position of your Bays in the Calendar
Activating the Website Module
General Configurations of your Website
Configuring Online Appointment Bookings
Highlighting Online Appointments
Configuring/Creating Services to Be Displayed on the Website for Online Appointment Bookings
Enabling E-Commerce
Posted
10 months
ago
by
Olivier Brunel
#705
389 views
Edited
8 months
ago